
Though I don’t always wear liner, I do love the look of a well defined lip that it gives on a face 100% of the time. To simplify the application process, I usually go with one of two ways – usually depending on the color and how much time I have.
I somehow managed to tell the internet one way in <140, so here’s the detailed and thorough how-to for your application pleasure.
foolproof liner in 1-2-3.
Apply neutral liner, then your lipstick, then finish with a like colored liner – if you’re not used to using liner and want to practice, this is a great way to get into that groove as well as give you some breathing room for your lipstick application – think like coloring inside the lines. Fill all the way in with lipstick and then use the like colored liner to blend and finish off your lip line and make it really even and sharp with the color, it will all mix and give it super nice depth – this is also where i like to use a different color liner and contrast.
Example… I blended Burgundy with Heroine to soften the intensity of the purple hue that makes it so lovely, but also so intimidating to wear.
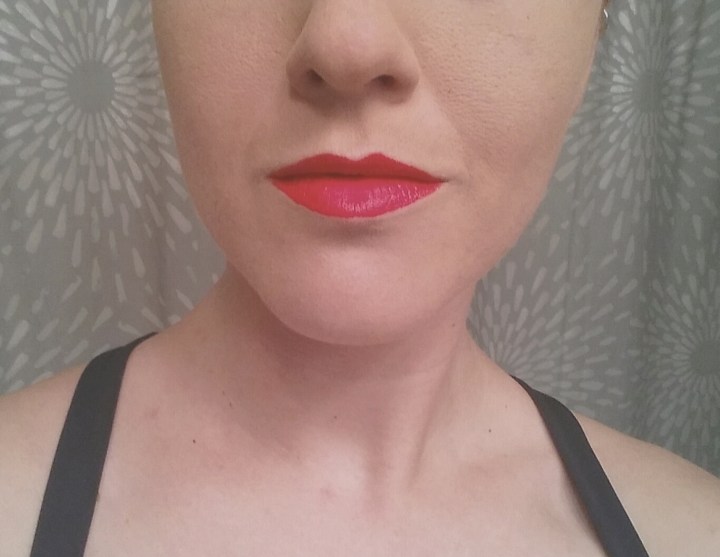
With this one, I went in with a nude to set a base for the lipstick, then came in with the liner – I think this method gives you a lot of control, and is a super easy way to add depth and/or contrast from your every day look. This is just a quick way to add some variety to a look, and has recently been my favorite when I have to show my face in public before lunchtime, because early and easy.
lined bitchstick in less than 30.
Quick lips means you need what little effort you’re putting in to last a while – use primer if you have it with this time saving hack. Get a solid layer of primer on as you normally would, then fill in with whatever color lipstick you want to wear – don’t worry about filling it in perfectly, just get everything well covered for the most part.
There’s nothing perfect about my lipstick when I’m doing it in a rush. But, once you draw in your liner, and it warms up (use your finger and roll it around to warm it up if it’s “cold” or hard to work with) blend right on into your lipstick. Getting used to working through this step will make you a whiz with liner and then much more deft wielding an entire lipstick tube. For liners, NARS makes my fave because they’re the best consistency – almost gel like, so there’s no drag when using them. Second to that, I use MAC just because I have so many of their lipsticks. I find their pencils dry out a bit more, but they wear pretty well so it’s worth it to deal with for me. With that, you should have a lowkey but polished lip to basically run out the door with, in literally NO time. Reversing the liner/lipstick step is a huge timesaver, you heard it here first.

be one with the bitchstick.

Hopefully this lends some inspiration – or at least a few more minutes of your life back in the morning! Post inspired by my combo tonight – NARS La Paz lined with my Burgundy MAC liner. Like Heroine, La Paz is a super rich color that I think benefits from have a slightly off but like colored liner.
Ps. Don’t bother buying nice nude liner – I use Revlon Colorstay when I’m going down that route. Definitely recommend cheating the cheap and just going with a drugstore brand neutral liner, especially if you’re still mastering the art of lining itself.
I’m pretty sure there might have been a bad trend with poorly matched liner and lipstick in like, the Spice Girl era, but I’m bringing it back in the right way. I seriously dig playing with the color contrast of liner to bitchstick, highly suggest getting down with your inner stonecoldbeauty and trying it out.
xx
